Help & support
Download our manuals and learn how to use your headphones with ease.
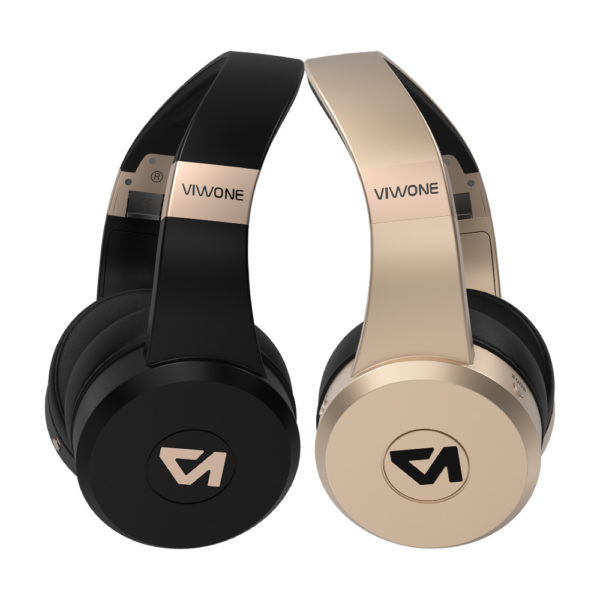
Pure | Pure +
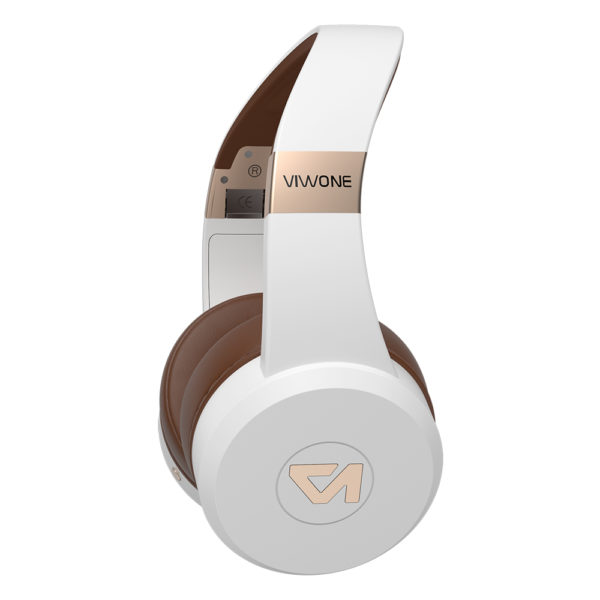
Pure + Premium Edition
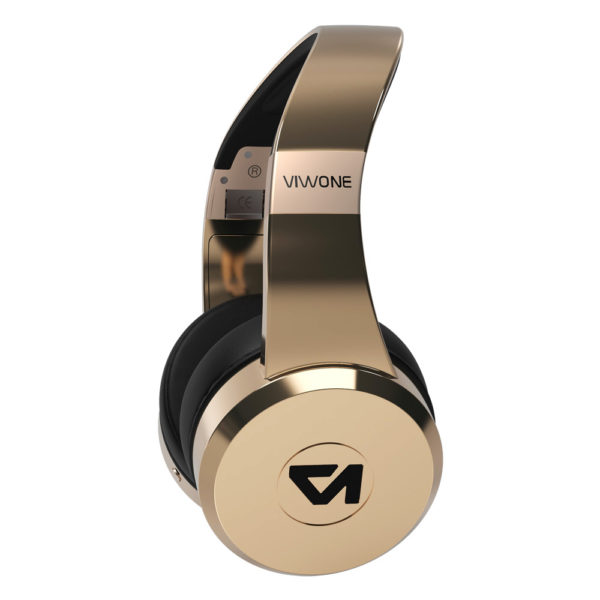
Rebel Gamme One
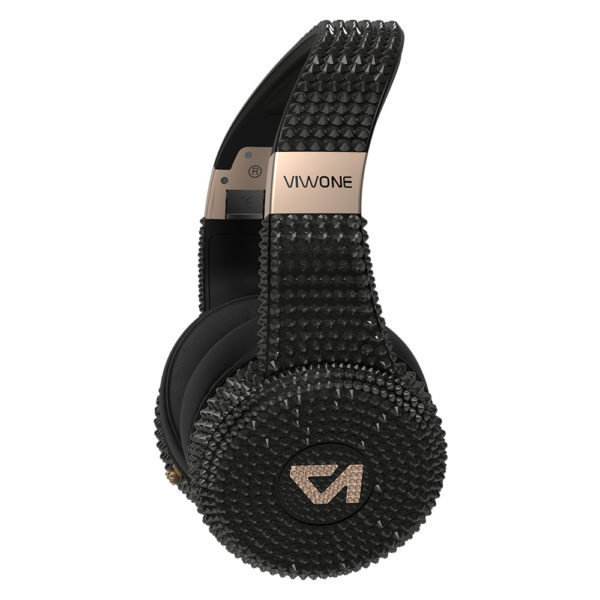
Eternal Gamme One
FAQ
1 - Bluetooth pairing
Follow the instructions in the user manual to put your headphones into Bluetooth pairing mode. If you do not see your Viwone Pure product in the list of available devices on your phone, do the following:
- Disable Bluetooth on your phone
- Turn off your headphones
- Activate Bluetooth on your phone
- Turn on your headphones and press and hold the mode button until the blue LED flashes rapidly.
- Your headphones should appear in the list of Bluetooth devices
- Click on the name of the headset “Viwone Pure”
- Wait until the pairing is successful.
Your phone may report a request for access to contacts; please click allow, as this would enable your headphones to announce people’s names on calls.
Proceed as follows:
- First, activate the NFC function on your Android smartphone.
- Turn on your headphones
- Place your smartphone against the Viwone logo in the centre of the right ear of your headphones.
- At this point, your smartphone should display a pairing request for your Viwone Pure headphones.
- Click Accept.
- Wait until the pairing is successful.
Your phone may report a request for access to contacts; please click allow, as this would enable your headphones to announce people’s names on calls.
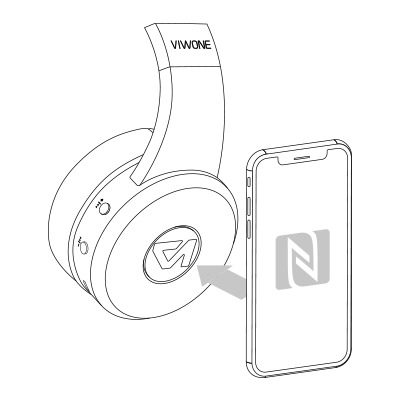
Your headset supports a maximum of two simultaneous connections to smartphones. Proceed as follows:
- Make sure your headphones is not connected to any other devices.
- Put your headphones in Bluetooth pairing mode.
- Your headphones should appear on the list of Bluetooth devices on your phone.
- Click on the name of the headphones “Viwone Pure”
- Wait until the pairing is successful.
NB: If your product still does not connect (pairing failed), restart the operation after forcing a reboot of your headphones by pressing the four side keys simultaneously (Volume+, Volume-, Mode, Battery).
When you first connect, and until you click “Allow,” the application will display a request to pair Bluetooth with your headphones. Click on accept so that the Bluetooth communication with the application can be established.
If the application does not ask for pairing permission from your headset, but it is connected via Bluetooth, proceed as follows:
- Uninstall and reinstall the Viwone Pure application
- Force a reboot of your headset by pressing the four side keys simultaneously (Volume+, Volume-, Mode, Battery)
- Connect your headset via Bluetooth (settings on your phone)
- Launch the application
- Accept the Bluetooth pairing request
No, only smartphones equipped with Bluetooth Low Energy technology are compatible with the Viwone Pure application. However, you will be able to use your headphones in classic Bluetooth to listen to your music without accessing the application.
2 - Using the application
The serial number of your product can be found on the warranty card included in the box.
If you have already registered your headphones, simply log in and launch the application.
When asked for the serial number of your headphones, click on “Lost serial number,” and you will receive your digital warranty card at the email address you provided during the initial registration.
If you don’t have access to your email, choose the SMS option, and a text message with your serial number will be sent to the number previously indicated.
Contact Viwone Customer Service and provide your purchase invoice by email. A service team member will verify your request and return your digital warranty card by email.
No, only one connection to the application at a time is allowed.
Make sure you have loaded audio tracks in a compatible format. Your headphones support WAV, MP3, AAC, MP4, and DSD formats. Any formats not listed in your product manual are not supported and will not be detected.
Note that the display of music in the application can only be done after removing the USB cable from the headphones and disconnecting from your computer.
However, if you have loaded compatible audio files but your application displays empty content:
- Force a reboot of your headphones by pressing the four side keys simultaneously (Volume+, Volume-, Mode, Battery).
- Connect your headphones to your computer and modify the contents of the internal memory by adding/deleting music content.
- Disconnect your USB cable and use the application again to view the contents of the internal memory.
- After updating the content (wait for the end of the synchronization), the content will be displayed.
3 - Using the headphones
Only use USB chargers with a 5Volt output voltage and the “CE” mark to charge your headphones.
Using incompatible accessories may cause damage to your product, which is not covered under your warranty.
If you notice that your product is overheating while charging:
- Disconnect the charger from your headphones immediately.
- Contact Viwone Customer Service.
Proceed as follows:
- Check that the USB cable dedicated to charging is well connected and that there is no object obstructing the insertion of the cable.
- Check that the USB cable is not damaged or cut. You can check by using another Micro USB cable.
- Check your power source.
- If your headphones has not been charged for an extended period (more than one month), it may take several minutes before the charge indicator begins to flash.
If all the above points are checked, but your headphones does not charge, it may be a malfunction of your product. In this case, contact Viwone after-sales service.
The presence of foreign objects, dust, or liquid in the audio input connector of your headphones may affect the operation of the internal audio routing.
- Make sure that the audio input is free from any source of interference.
- Verify by inserting the supplied audio cable into the input connector that the headphones usually works in wired mode.
If all the above points are checked but your headphones do not reproduce sound correctly, it may be a malfunction of your product. In this case, contact Viwone’s customer service.
After an extended period of non-use, your headphones’s battery will take several minutes to reach a minimum charge threshold to start the charging indications.
Plug your headphones into the charger and leave them on for several minutes before turning them on.


